RabbitMQ (Legacy)
Overview
The source code and default configuration of the Building Block is available in our code.syseleven.de. Infos on release notes and new features Release notes rabbitmq
This is the legacy version of the RabbitMQ Building Block. It is based on the container image provided by Bitnami. Their free container image is only continued through their legacy repository.
Please consider migrating to our new version of the RabbitMQ-Cluster Building Block.
RabbitMQ
RabbitMQ is a lightweight message broker which can be deployed on MetaKube Core.
The source and a default configuration can be found on code.syseleven.de. For infos on release notes and new features please follow Release notes rabbitmq
Recommended Setup
A recommended resource overview is listed in the table below.
| CPU/vCPU | Memory |a | -------- | ------- | | 3 | 6000MiB |
A default deployment consists off 3 nodes.
No further activities need to be carried out in advance.
Adding The Building Block
You are good to go with the recommended general cluster configuration to meet the RabbitMQ recommended configuration.
An existing control repository is mandatory to proceed. To learn more about control repos, please refer to Setup a control repository. Make sure that you also have the KUBECONFIG from your MetaKube Cluster set appropriately.
For example:
git clone git@code.syseleven.de:/<path2yourControlRepo>
cd <YourWorkspace>
mkdir syseleven-rabbitmq
cd syseleven-rabbitmq
In your
In each Building Block directory, the gitlab-ci.yml is responsible for the Building Block itself.
Add a .gitlab-ci.yml to the directory syseleven-rabbitmq with the following content:
include:
  - project: syseleven/building-blocks/helmfiles/rabbitmq
    file: JobDevelopment.yaml
    ref: { { site.building_blocks.rabbitmq.version|e } }
  - project: syseleven/building-blocks/helmfiles/rabbitmq
    file: JobStaging.yaml
    ref: { { site.building_blocks.rabbitmq.version|e } }
  - project: syseleven/building-blocks/helmfiles/rabbitmq
    file: JobProduction.yaml
    ref: { { site.building_blocks.rabbitmq.version|e } }
Your directory structure should look like this:
Push your changes to your control repository. Your Building Block will be deployed to your MetaKube Cluster. Once the GitLab pipeline is successful, you can check the running Building Block with the following command..
% kubectl get pods -n syseleven-rabbitmq

NAME         READY   STATUS    RESTARTS   AGE
rabbitmq-0   1/1     Running   0          2d21h
rabbitmq-1   1/1     Running   0          2d21h
rabbitmq-2   1/1     Running   0          2d21h
Required Configuration
The Rabbitmq is now ready to use. To access the management interface you need to fulfill some prerequisites :
- retrieve the default password from the cluster,
- a port forwarding must be activated:
Further it is important to set the password to be able to upgrade RabbitMQ in the future.
To retrieve the password
kubectl get secret --namespace syseleven-rabbitmq rabbitmq -o jsonpath="{.data.rabbitmq-password}" | base64 -d
Port Forward
Before you enter the admin URL of RabbitMQ, just create a port forward as follows upfront.
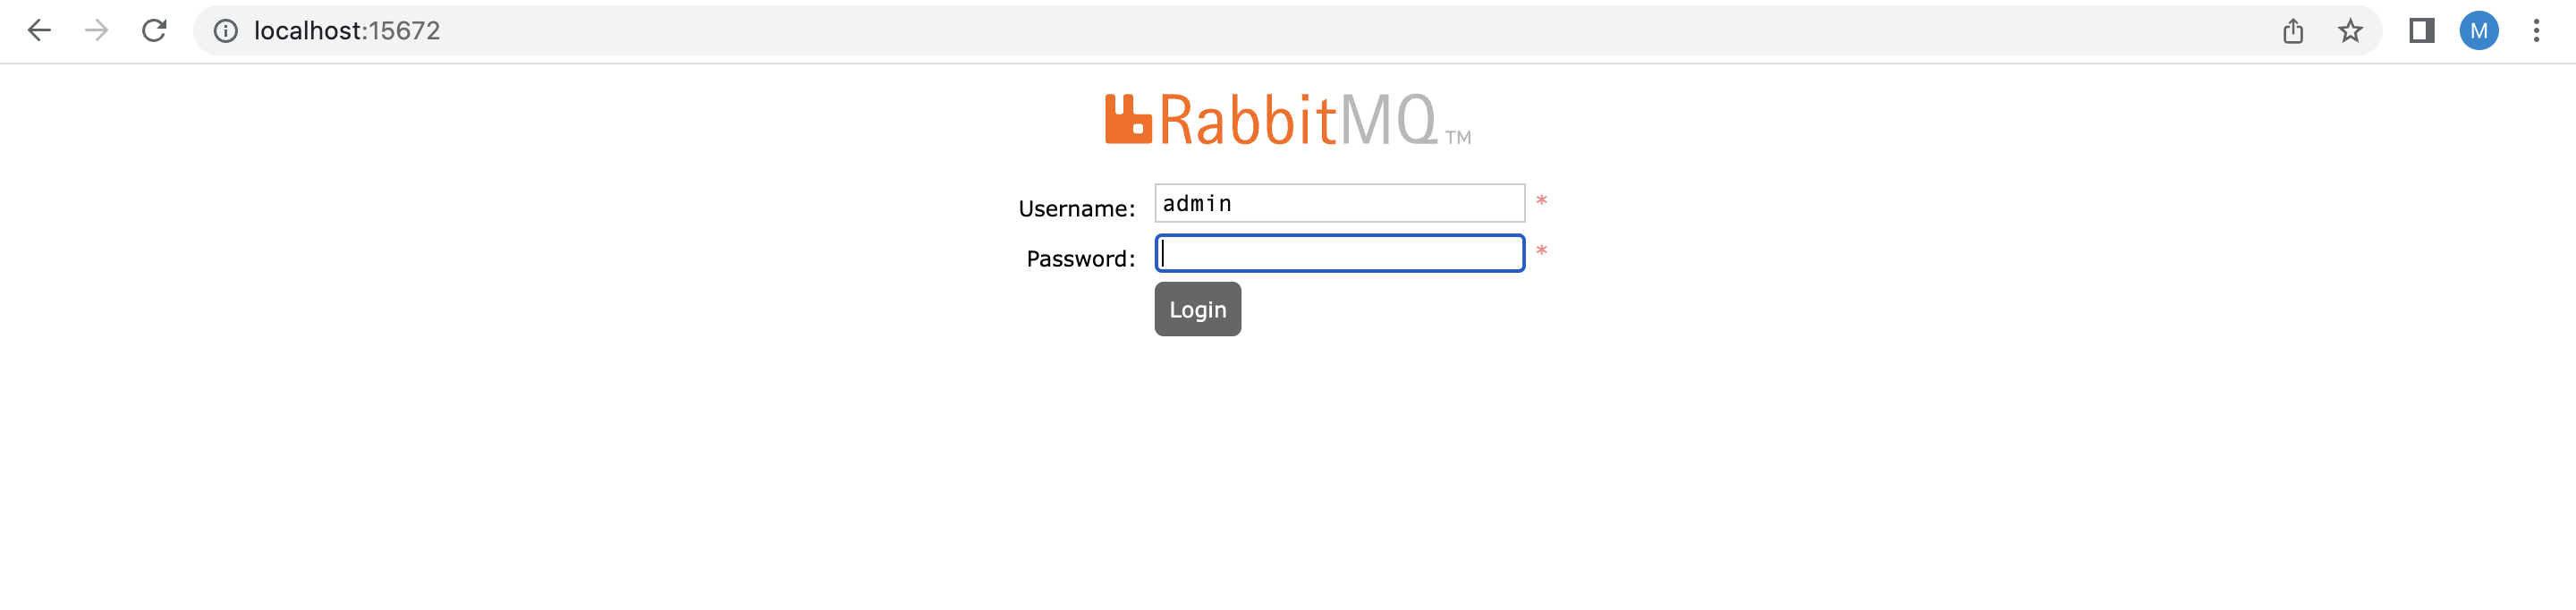
Now you can access the management UI by using 127.0.0.1:15672. Enter the admin password you retrieved from the command above.
In the Overview section of the Management Interface you can export and import the definitions. You can export the current configuration as a JSON file or import existing configuration from other RabbitMQ clusters, see: Schema Definition Export and Import.
An overview of possible configuration options are available on RabbitMQ BuildingBlock.
RabbitMQ CLI
RabbitMQ provides several command-line tools. All these tools are documented in detail under: Command-line tools You can use the command-line tools in any rabbitmq pod.
Example
list of provided command-line tools
rabbitmqctlfor service management and general operator tasksrabbitmq-diagnosticsfor diagnostics and health checkingrabbitmq-pluginsfor plugin managementrabbitmq-queuesfor maintenance tasks on queues, in particular quorum queuesrabbitmq-upgradefor maintenance tasks related to upgrades
Scaling Setup
Stick to the official documentation of RabbitMQ to learn more about scaling and further configuration options.
Known Issues
Besides the following known issues please always monitor the official announcements from the upstream project documentation.
Broken cluster state
Danger
Some of these procedures can lead to data loss. Always make a backup beforehand.
The RabbitMQ cluster is able to support multiple node failures but, in a situation in which all the nodes are brought down at the same time, the cluster might not be able to self-recover.
This happens if the pod management policy of the StatefulSet is not parallel and the last pod to be running wasn't the first pod of the StatefulSet. If that happens, update the pod management policy to recover a healthy state:
$ kubectl delete statefulset STATEFULSET_NAME --cascade=false
$ helm upgrade RELEASE_NAME bitnami/rabbitmq \
--set podManagementPolicy=Parallel \
--set replicaCount=NUMBER_OF_REPLICAS \
--set auth.password=PASSWORD \
--set auth.erlangCookie=ERLANG_COOKIE
For a faster resynchronization of the nodes, you can temporarily disable the readiness probe by setting readinessProbe.enabled=false. Bear in mind that the pods will be exposed before they are actually ready to process requests.
If the steps above won't recover the cluster to a healthy state, it could be possible that none of the RabbitMQ nodes are aware of it last state. In those cases, you can force the boot of the nodes by specifying the clustering.forceBoot=true parameter (which will execute rabbitmqctl force_boot in each pod):
$ helm upgrade RELEASE_NAME bitnami/rabbitmq \
--set podManagementPolicy=Parallel \
--set clustering.forceBoot=true \
--set replicaCount=NUMBER_OF_REPLICAS \
--set auth.password=PASSWORD \
--set auth.erlangCookie=ERLANG_COOKIE
Please stick to the official RabbitMQ documentation to get more details on that topic
Release-Notes
Please find more infos on release notes and new features release notes Rabbitmq