NFS Shares
Warning
This feature is available upon request.
OpenStack Manila provides shared filesystems as a service. Customers can create shares, define access rules, and mount them to VMs using the NFS protocol.
Info
The service supports NFSv4 over TCP.
Listing NFS Shares
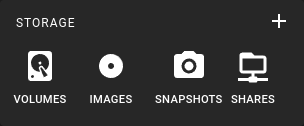 To get a list of all NFS shares in a region, click on the Shares icon in the sidebar.
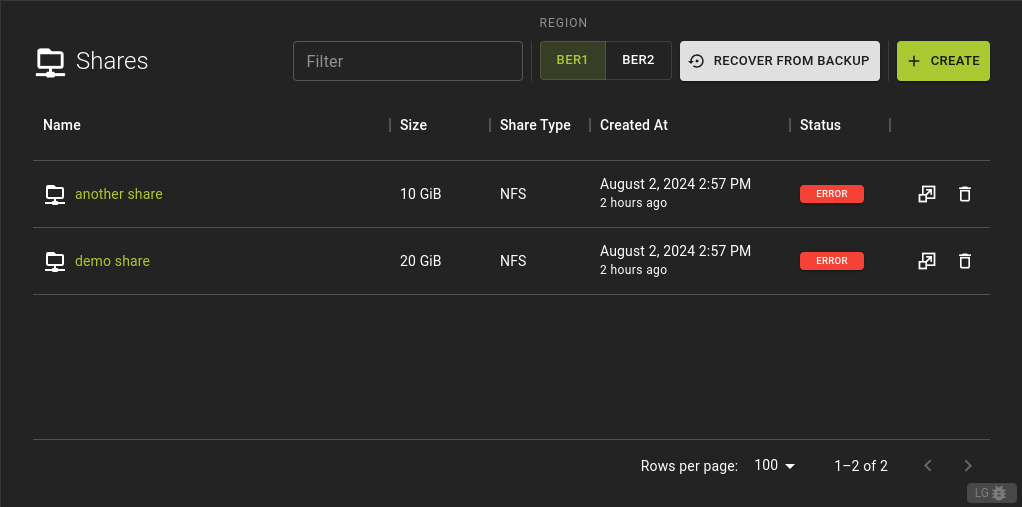 This will display a list of all your NFS shares, including their names, sizes, and current status.
To list all NFS shares, use the following command:
This will display a table with information about each share, including ID, name, size, protocol, status, and more.
Example
Creating an NFS Share
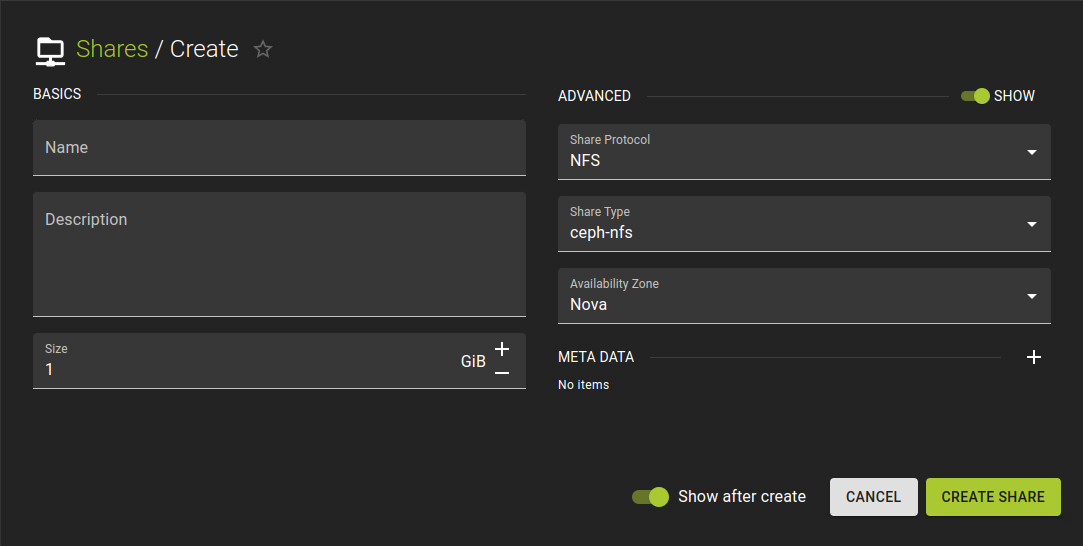 To create a new NFS share, click on the "Create Share" button. Fill in the required information such as name, description, size, and any other relevant details.
To create a share with the name "my_share" and with a size of 20G:
openstack share create --name my_share NFS 20

Output:

+---------------------------------------+--------------------------------------+
| Field                                 | Value                                |
+---------------------------------------+--------------------------------------+
| access_rules_status                   | active                               |
| availability_zone                     | None                                 |
| create_share_from_snapshot_support    | False                                |
| created_at                            | 2024-02-01T13:09:01.229054           |
| description                           | None                                 |
| has_replicas                          | False                                |
| id                                    | ad70bc3f-79ca-402e-89e7-22af6f40f0c3 |
| is_public                             | False                                |
| is_soft_deleted                       | False                                |
| metadata                              | {}                                   |
| mount_snapshot_support                | False                                |
| name                                  | my_share                             |
| progress                              | None                                 |
| project_id                            | c9e7a7a29e0b4b009c72a27893ec1dad     |
| replication_type                      | None                                 |
| revert_to_snapshot_support            | False                                |
| scheduled_to_be_deleted_at            | None                                 |
| share_group_id                        | None                                 |
| share_network_id                      | None                                 |
| share_proto                           | NFS                                  |
| share_type                            | 574d040b-c569-49c4-a2c3-148daa273f51 |
| share_type_name                       | ceph-nfs                             |
| size                                  | 20                                   |
| snapshot_id                           | None                                 |
| snapshot_support                      | False                                |
| source_backup_id                      | None                                 |
| source_share_group_snapshot_member_id | None                                 |
| status                                | creating                             |
| task_state                            | None                                 |
| user_id                               | a58cec81314246cb925e25e698e6b2bf     |
| volume_type                           | ceph-nfs                             |
+---------------------------------------+--------------------------------------+
Check the created share with the following command:
openstack share list

Output:

+--------------------------------------+----------+------+-------------+-----------+-----------+-----------------+------+-------------------+
| ID                                   | Name     | Size | Share Proto | Status    | Is Public | Share Type Name | Host | Availability Zone |
+--------------------------------------+----------+------+-------------+-----------+-----------+-----------------+------+-------------------+
| ad70bc3f-79ca-402e-89e7-22af6f40f0c3 | my_share |   20 | NFS         | available | False     | ceph-nfs        |      | nova              |
+--------------------------------------+----------+------+-------------+-----------+-----------+-----------------+------+-------------------+
Example
Viewing and Modifying an NFS Share
You can view details of an existing share and update its properties as needed.
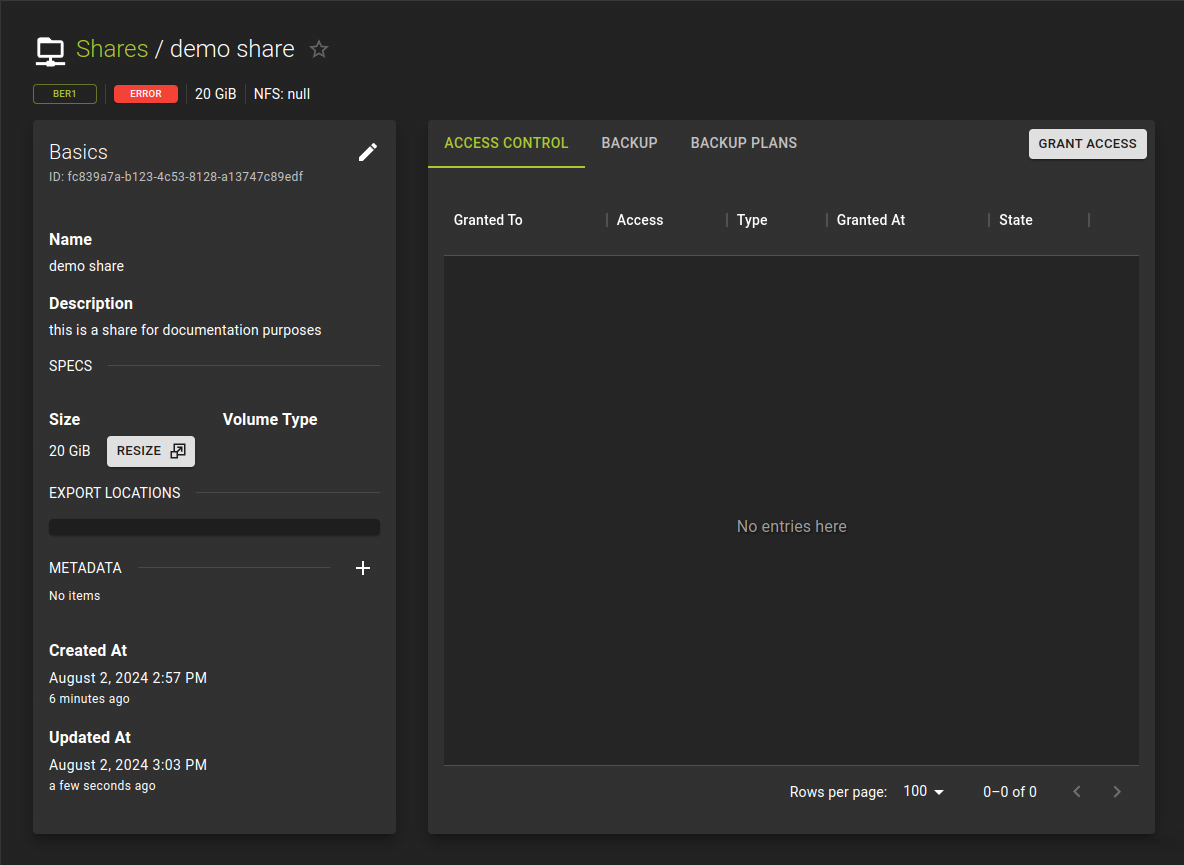 Click on a share in the list to view its details. From here, you can update properties, manage access, configure backups, and more.
To view details of a share:
To modify a share (e.g., resize):
Example
Restoring a Share from Backup
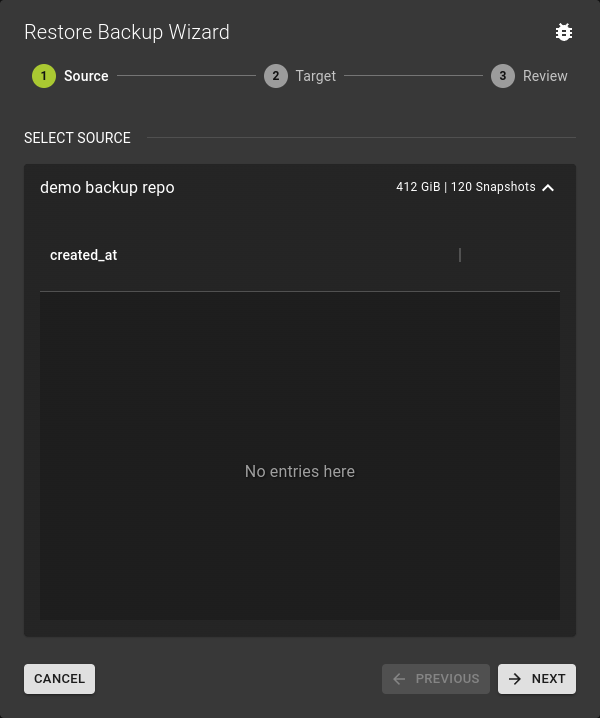 To restore a share from a backup, navigate to the backups section and select the desired backup as the source.
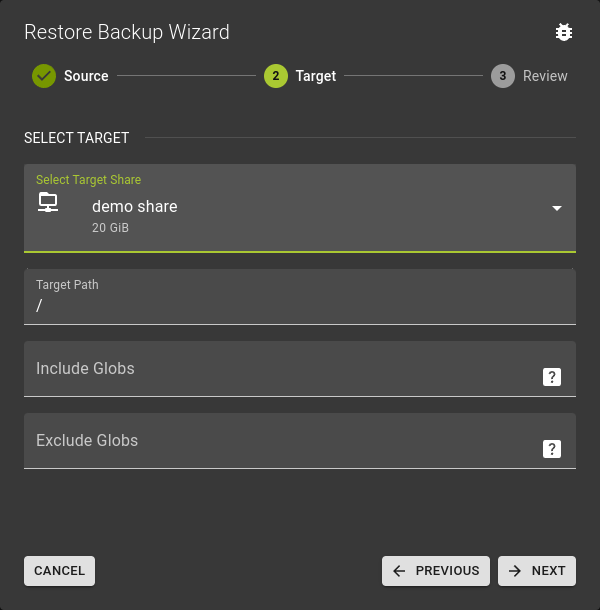 Choose the target for the restored share, which can be a new share or an existing one.
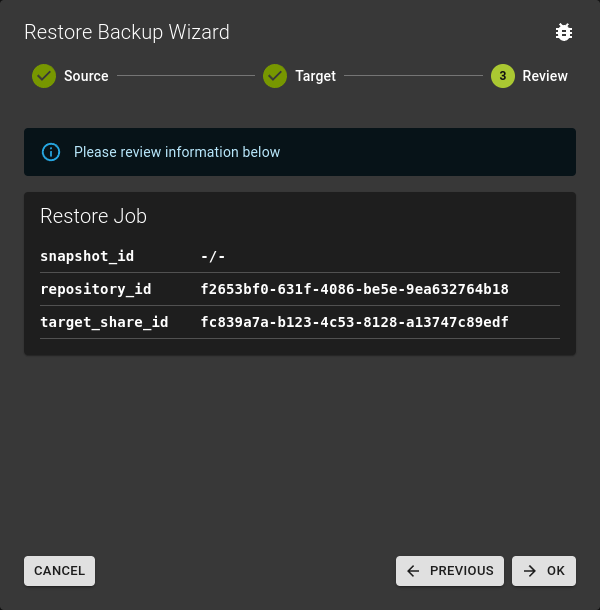 Review the restoration details before confirming the operation.
Restoring a share from backup via CLI is not supported.
Restoring a share from backup via Terraform is not supported.
Resize Share
You can resize an existing share to increase or decrease its capacity.
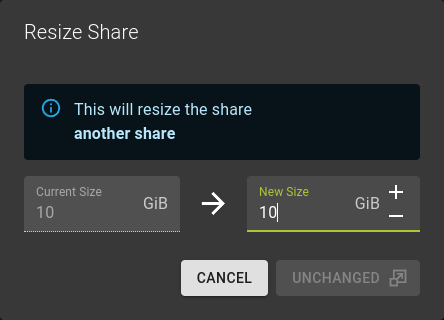 To resize a share, select the share and click on the resize option. Enter the new desired size and confirm.
To resize a share, use the following command:
This resizes "my_share" to 15GB.
Example
Manage Backups
You can configure and manage backups for your NFS shares.
Configure Backup
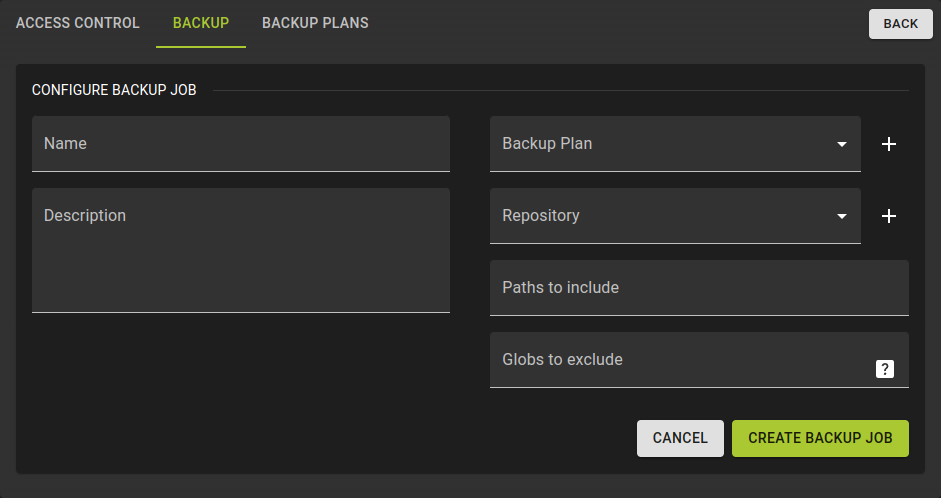 Navigate to the backups section of your share. Here you can configure backup schedules, retention policies, and initiate manual backups.
Backup management via CLI is not supported.
Backup management via Terraform is not supported.
Manage Access
You can control access to your NFS shares by setting up access rules.
Grant Access
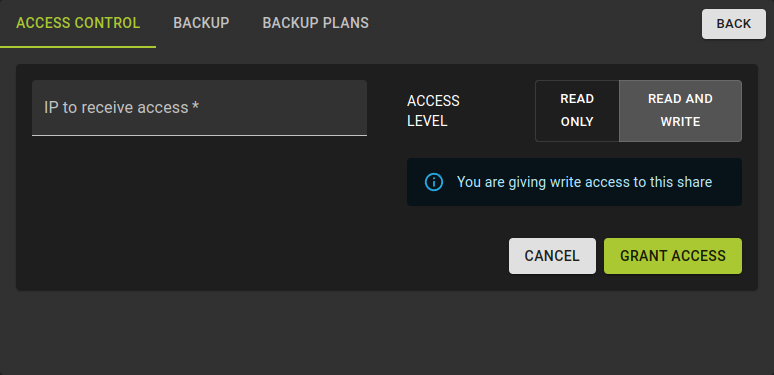 To grant access, navigate to the access control section of your share. Here you can add new access rules, specifying the IP address and access level (read-write or read-only).
Revoke Access
To revoke access, simply remove the access rule for the desired IP address.
To create an access rule:
openstack share access create --access-level rw my_share ip 10.149.2.108

Output:

+--------------+--------------------------------------+
| Field        | Value                                |
+--------------+--------------------------------------+
| id           | 9eb547e8-6f14-4d99-9a34-2812d01937b3 |
| share_id     | e8442bcb-1477-4963-9e15-cb7b64ce2a20 |
| access_level | rw                                   |
| access_to    | 10.149.2.108                         |
| access_type  | ip                                   |
| state        | queued_to_apply                      |
| access_key   | None                                 |
| created_at   | 2024-02-01T15:21:47.781562           |
| updated_at   | None                                 |
| properties   |                                      |
+--------------+--------------------------------------+
This grants read-write access to the IP 10.149.2.108 for the share "my_share".
Example
Delete NFS Share
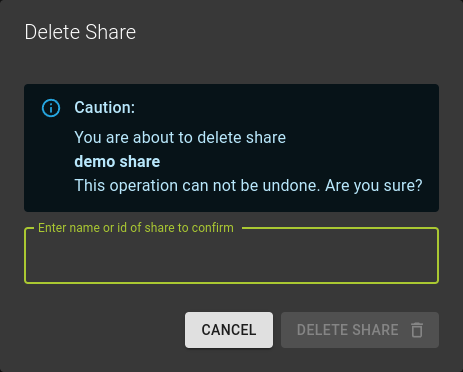 To delete a share, select it from the list and click on the delete option. Confirm the deletion when prompted.
To delete a share, remove the resource from your Terraform configuration and apply the changes.
Using NFS Shares
For a full example on how to use NFS shares with OpenStack VMs, see our How-To Guide.