Volumes
A volume is a detachable block storage device. You can attach a volume to a single server at a time. Volumes start empty or from an image.
Encryption at rest
By default the service encrypts all data on a volume at rest, meaning it encrypts data before writing to a physical device. If a storage device gets lost or damaged, unauthorized parties cannot access your data.
Encryption is applied in two layers:
- Storage layer – all volume types
The underlying storage system encrypts all physical storage devices using 256-bit AES. Data on every volume is protected at this level, regardless of the volume type.
- Volume layer – volume type
gp1e
The volume type gp1e additionally encrypts each volume individually. Every gp1e volume uses a unique 256-bit AES key (AES-XTS):
- The service generates the key automatically when the volume is created.
- The key is stored in your project's key store, where it is only accessible to your project.
- You can view and download the encryption key of any of your
gp1evolumes at any time from the key store.
Encryption is transparent: it requires no configuration or action on your servers.
Note
The encryption described here applies to distributed storage volumes only. Local SSD storage (ephemeral) is not encrypted.
Listing Volumes
 To get a list of all volumes in a region you can click on the Volumes icon in the sidebar.
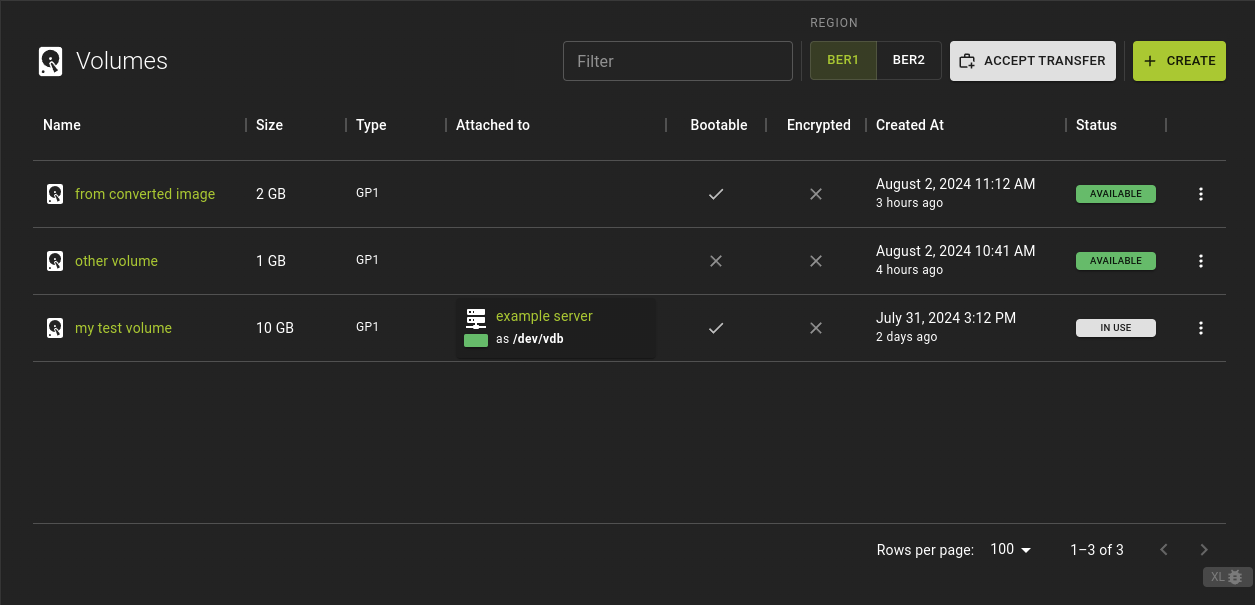
From the list you can:
- Create new volumes
- Navigate to the details of a volume by clicking on the name / id
- Perform various actions by using the menu at the end of each entry.
- Accept incoming volume transfers
Create Volume
Volume creation requires specifying the size of the volume and its initial contents.
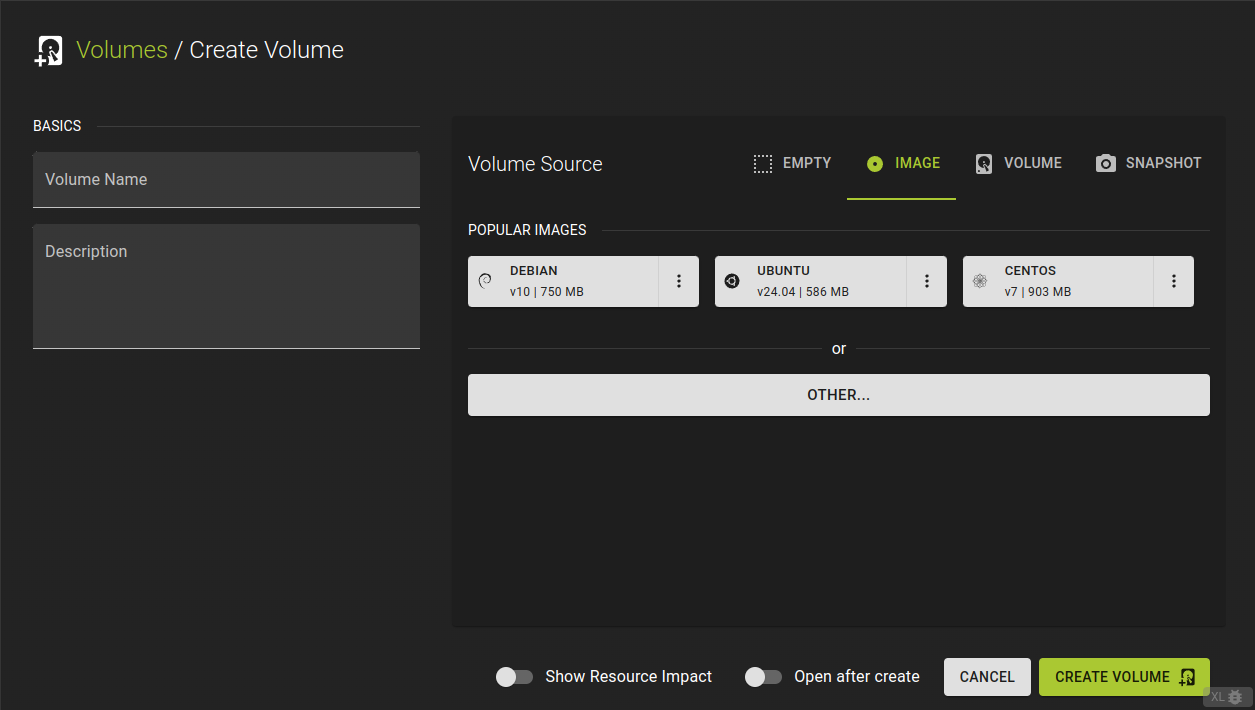
- Name and describe your volume
- Pick a source for the volume. Select from:
- Empty: Create an empty volume
- Image: Initialize the volume with contents of an image
- Volume: Create an independent copy of an existing volume
- Snapshot: Initialize the volume with state conserved in a snapshot
- Specify the size of the volume (must be larger than the source if selected)
- Select the volume type (e.g. gp1e for an encrypted volume)
- Confirm by clicking Create Volume
Usage
openstack volume create --size <size>
                       [--type <volume-type>] [--image <image>]
                       [--snapshot <snapshot>] [--source <volume>]
                       [--description <description>]
                       <name>
<name>- optional
- Name for the volume to be created
<size>- Size of the volume in GB
<volume-type>- optional
- Type of the volume. Choose gp1e for an encrypted volume.
<image>- optional
- Identifier of image to be used as source
<snapshot>- optional
- Identifier of snapshot to be used as source
<volume>- optional
- Identifier of a volume to be used as source. The volume will be connected to the server and used for booting.
<description>- optional
- Description of the volume.
Example
# Terraform Provider configuration

terraform {
  required_providers {
    openstack = {
      source  = "terraform-provider-openstack/openstack"
    }
  }
}

# Volume configuration

resource "openstack_blockstorage_volume_v3" "volume" {
  name  = "volume"
  size  = 5
  # volume_type = "gp1e" # volume type for encrypted volumes
}
Volume source
An empty volume results when the request omits a source. - A volume accepts a single source, so the parameters image, snapshot, and volume are mutually exclusive.
Inspect and modify Volume
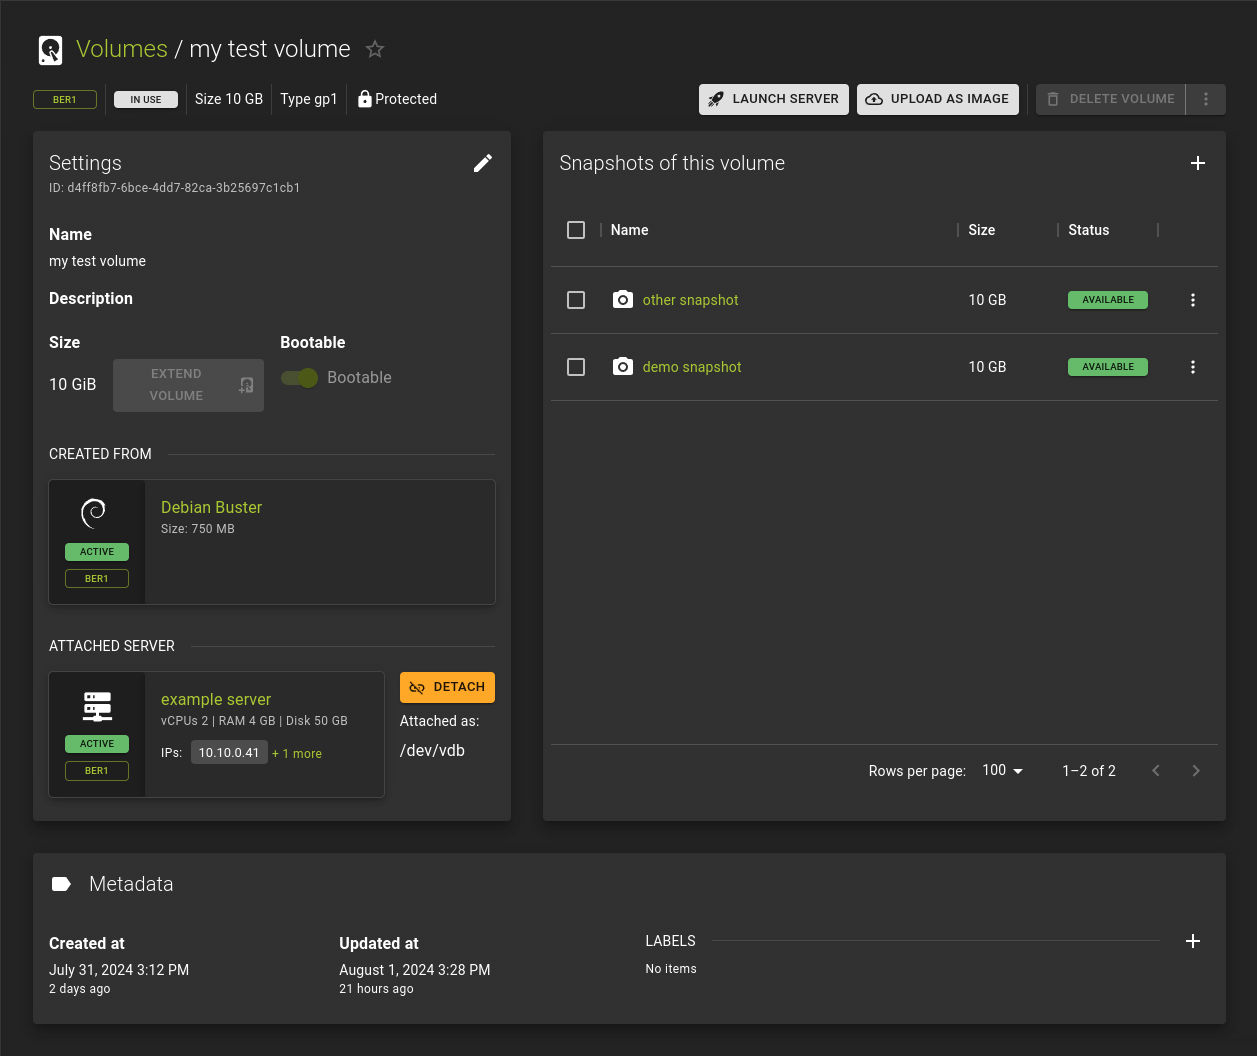
The details page for a volume is composed from cards that group similar information
From here you can:
- Launch a server from the volume
- Create an image from the volume
- Modify and delete the volume
- Manage the snapshots taken from the volume
Settings
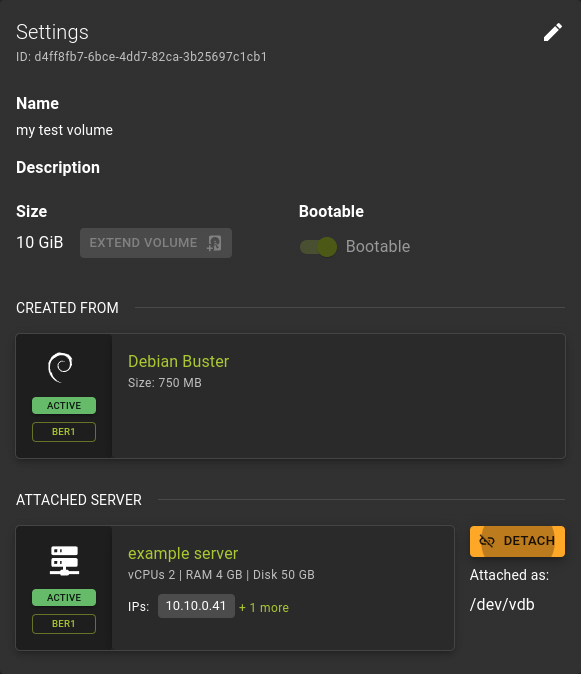 Here you can view and manage the immediate properties of a volume.
Snapshots
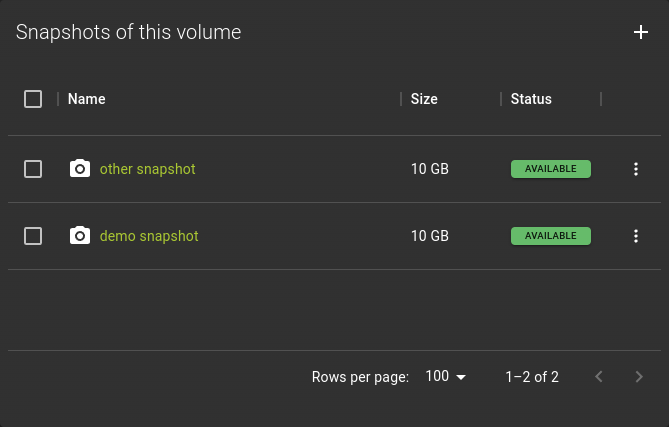 Here you can manage the snapshots that have been created from this volume and create new snapshots.
Metadata
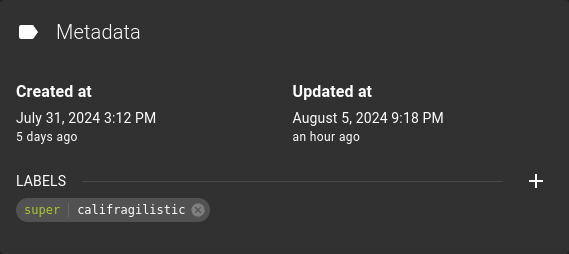 Manage metadata for the volume here. Add and manage labels here to help you organize your resources.
Show Volume
Usage
openstack volume show <volume>
<volume>- Volume to display (name or ID)
Modify Volume
openstack volume set
    [--name <name>]
    [--size <size>]
    [--description <description>]
    [--no-property]
    [--property <key=value> [...] ]
    [--image-property <key=value> [...] ]
    [--state <state>]
    [--attached | --detached ]
    [--type <volume-type>]
    [--retype-policy <retype-policy>]
    [--bootable | --non-bootable]
    [--read-only | --read-write]
    <volume>
--name <name>- New volume name
--size <size>- Extend volume size in GB
--description <description>- New volume description
--no-property- Remove all properties from
(specify both --no-property and --property to remove the current properties before setting new properties.) --property <key=value>- Set a property on this volume (repeat option to set multiple properties)
--type <volume-type>- New volume type (name or ID)
--retype-policy <retype-policy>- Migration policy while re-typing volume (“never” or “on-demand”, default is “never” ) (available only when --type option is specified)
--bootable- Mark volume as bootable
--non-bootable- Mark volume as non-bootable
--read-only- Set volume to read-only access mode
--read-write- Set volume to read-write access mode
--image-property <key=value>- Set an image property on this volume (repeat option to set multiple image properties)
- Image properties are copied along with the image when creating a volume using --image. Note that these properties are immutable on the image itself, this option updates the copy attached to this volume.
--state <state>- New volume state (“available”, “error”, “creating”, “deleting”, “in-use”, “attaching”, “detaching”, “error_deleting” or “maintenance”) (admin only) (This option simply changes the state of the volume in the database with no regard to actual status, exercise caution when using)
--attached- Set volume attachment status to “attached” (admin only) (This option simply changes the state of the volume in the database with no regard to actual status, exercise caution when using)
--detach- Set volume attachment status to “detached” (admin only) (This option simply changes the state of the volume in the database with no regard to actual status, exercise caution when using)
<volume>- Volume to modify (name or ID)
Actions
Attach to / Detach from Server
Attach to server
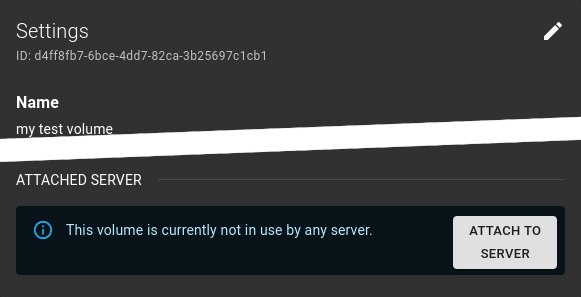 A volume with status "AVAILABLE" can be attached to a server by clicking Attach to server at the bottom of the settings card of the volumes details page.
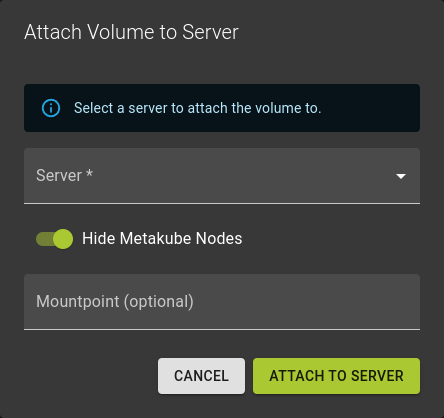
- Select the server you want to attach the volume to.
- Provide an optional mountpoint. If omitted the mountpoint will be determined for you.
- Click Attach to server to complete the operation
The volume will now undergo a series of state changes and will eventually reach the state in use
Detach from server
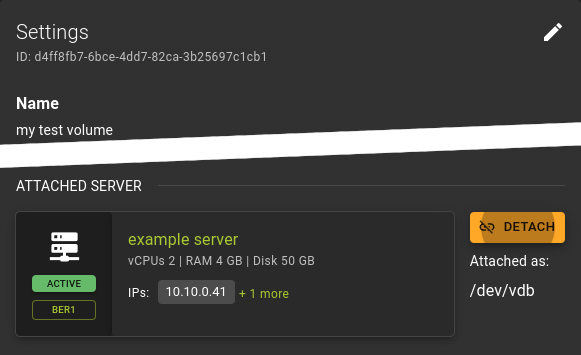 A connected volume can be detached from its server by clicking Detach at the bottom of the settings card of the volumes detail page
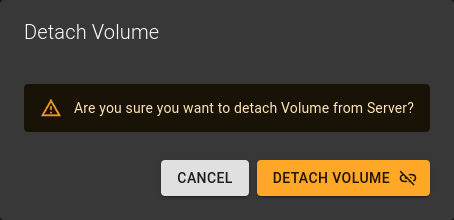 Simply confirm the operation by clicking detach volume
The volume will now undergo a series of state changes and will eventually reach the state Available
Attach to server
openstack server add volume
    [--device <device>]
    [--tag <tag>]
    [--enable-delete-on-termination | --disable-delete-on-termination]
    <server>
    <volume>
--device <device>- Server internal device name for volume
--tag <tag>- Tag for the attached volume (supported by –os-compute-api-version 2.49 or above)
--enable-delete-on-termination- Delete the volume when the server is destroyed (supported by –os-compute-api-version 2.79 or above)
--disable-delete-on-termination- Do not delete the volume when the server is destroyed (supported by –os-compute-api-version 2.79 or above)
<server>- Server (name or ID)
<volume>- Volume to add (name or ID)
Detach from server
openstack server remove volume <server> <volume>
<server>- Server (name or ID)
<volume>- Volume to add (name or ID)
Example
# Terraform Provider configuration

terraform {
  required_providers {
    openstack = {
      source  = "terraform-provider-openstack/openstack"
    }
  }
}

# Attach volume configuration

resource "openstack_compute_volume_attach_v2" "attach_volume" {
  instance_id = openstack_compute_instance_v2.os_server.instance.id"
  volume_id   = openstack_blockstorage_volume_v3.volume.id
}
Create Snapshot
Note
- You can snapshot volumes in the Available state.
- If the volume is not in state Available you can force the operation using the force option. Expect this to fail or produce inconsistent snapshots.
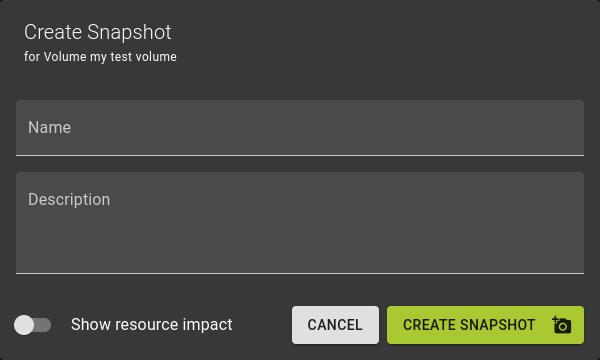 To create a snapshot
- Name and describe the snapshot
- Click Create Snapshot
Usage
openstack volume snapshot create
    [--volume <volume>]
    [--description <description>]
    [--force]
    [--property <key=value>]
    [--remote-source <key=value>]
    <snapshot-name>
--volume <volume>- Volume to snapshot (name or ID) (default is
) --description <description>- Description of the snapshot
--force- Create a snapshot attached to an instance. Default is False
--property <key=value>- Set a property to this snapshot (repeat option to set multiple properties)
--remote-source <key=value>- The attribute(s) of the existing remote volume snapshot (admin required) (repeat option to specify multiple attributes) e.g.: ‘–remote-source source-name=test_name –remote-source source-id=test_id’
<snapshot-name>- Name of the new snapshot
Extend (Resize)
Info
- Volumes can only be resized when they are not in use and in state Available
- Resizing is only supported for increasing the size. Volumes can not be shrunk.
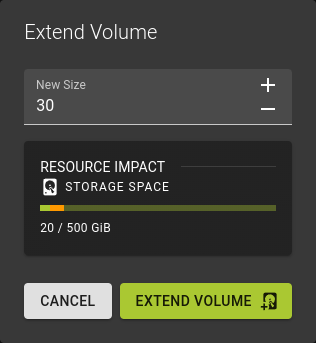
Enter the new size of the volume and confirm by clicking Extend Volume
The volume will now undergo a series of state changes and will eventually reach the state Available again.
Usage
openstack volume set --size <size> <volume>
--size <size>- Extend volume size in GB
<volume>- Volume to modify (name or ID)
Boot options
To mark a volume as a boot source for a server, set the boot flag:
You can modify a volumes boot flag by either:
- From the list of volumes by using the menu and selecting
Toggle Boot Flag - Or from the details page of a volume by using the switch labeled
Bootablein the volumes settings card.
Info
Note that this operation will only be possible for volumes that are not connected to a server and are in state Available
Usage
openstack volume set
    [--bootable | --non-bootable]
    <volume>
--bootable- Mark volume as bootable
--non-bootable- Mark volume as non-bootable
<volume>- Volume to modify (name or ID)
Launch a Server
You can launch a server from a volume by
- Clicking the Launch Server button in the title bar of the volumes detail page. This will initiate the server creation workflow with the volume preselected as source.
- Selecting the volume as source during the server creation workflow.
To launch a server from a volume using the CLI, use the following command:
openstack server create --flavor <FLAVOR> --block-device source=volume,id=<VOLUME_ID>,dest=volume,shutdown=remove,bootindex=0 <SERVER_NAME>
--flavor <FLAVOR>- Specify the flavor to define the compute resources (RAM, vCPUs, disk) for the server.
--block-device source=volume,id=<VOLUME_ID>,dest=volume,shutdown=remove,bootindex=0- Use the volume as the source for the server's root disk.
<VOLUME_ID>is the ID of the volume created in step 2. <SERVER_NAME>- Provide a name for the new server.
Upload as image (convert volume to image)
Volumes support conversion to images so you can start other volumes from an existing one. Converting a volume to an image leaves the volume intact.
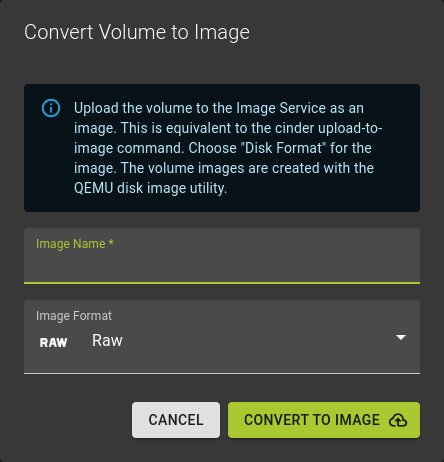 To convert a volume into an image
- Name the image you are creating
- Select the image format you want to use.
- Click Convert to Image
Usage
openstack image create --volume <volume> <image-name>
--volume <volume>- Create image from a volume
<image-name>- New image name
Transfer Volumes between Projects
You can transfer a volume from one owner to another by using the openstack volume transfer request create command. The volume donor, or original owner, creates a transfer request and sends the created transfer ID and authorization key to the volume recipient. The volume recipient, or new owner, accepts the transfer by using the ID and key.
Transferring a Volume
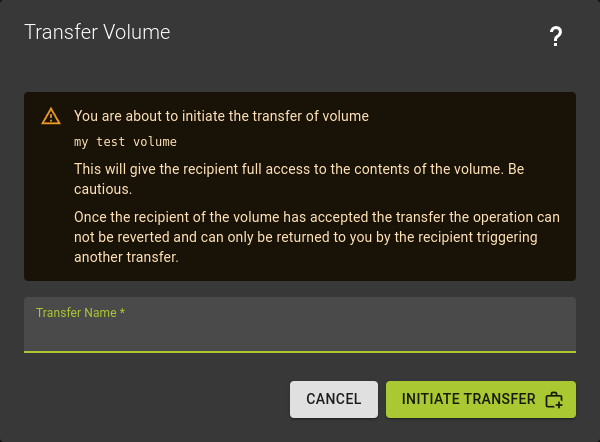
- either use the menu in the list of of volumes and select the
Create Transferoption - or use the
Initiate Transferoption by clicking on the Delete Volume button in the title bar of the volume details page
In the dialog that appears, name the transfer and click Initiate Transfer
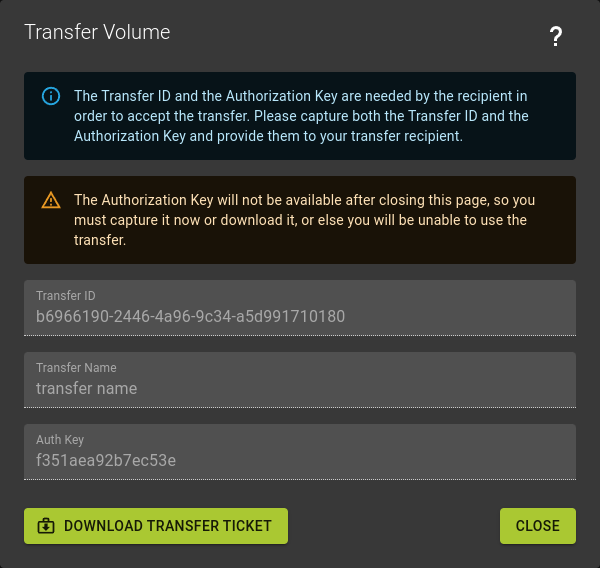 You will now be presented with a transfer ticket that will be displayed only once.
- Either copy the information
- Or simply download transfer ticket
Warning
- Make sure you secure the information presented here before you close the dialog. You can not view this information again at a later point.
- Should you have missed to save the information you can simply cancel the transfer and start over.
Accepting a transferred Volume
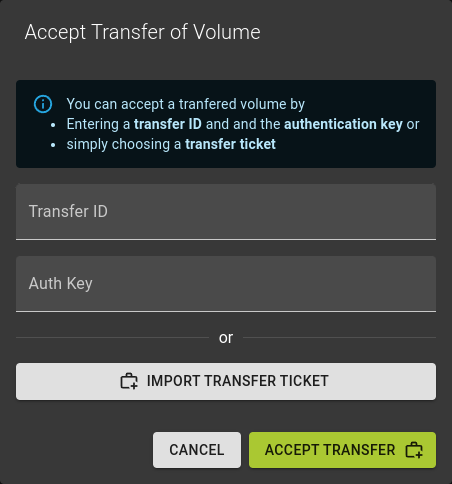
In particular you will need the following information:
- Transfer ID
- Transfer Auth Key
If you have received the information in the form of a file you can simply import transfer ticket .
Otherwise you can copy and paste the information as well.
Cancel Transfer
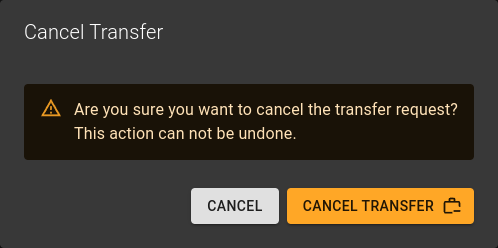
- From the volumes list using the menu in each row and selecting
Cancel Transfer - On the details page of a volume using the lifecycle button at the top right and selecting
Cancel Transfer
Confirm the operation in the emerging dialog by clicking Cancel Transfer
Transferring a Volume
Usage
openstack volume transfer request create --name <name> <volume>
--name <name>- New transfer request name (default to None)
<volume>- Volume to transfer (name or ID)
Accepting a transferred Volume
Usage
openstack volume transfer request accept <transfer-request> <auth-key>
<transfer-request>- Volume transfer request to accept (name or ID)
<auth-key>- Authentication key of transfer request
Delete Volume
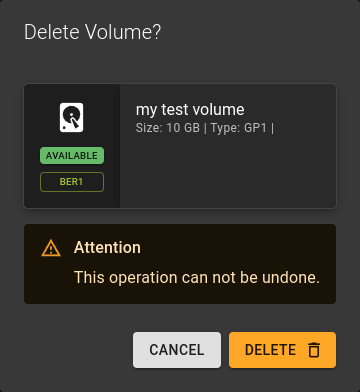
You can delete a volume
- From the list of volumes by using the menu and selecting
delete volume - From the details page of a volume by clicking the delete volume button from the titlebar
Confirm the operation in the dialog by clicking delete
Usage
openstack volume delete <volume-id>
<volume-id>- Identifier of volume to be deleted.
- Can also take a list of identifiers for bulk deletion.