PostgreSQL Database Provisioning and Connectivity Guide
This guide describes the end-to-end process for provisioning a PostgreSQL database instance and establishing connectivity from both public and private networks.
Prerequisites
- Access to SysEleven Dashboard
- Sufficient permissions to create databases and manage routers
Steps
Database Provisioning
Create a Database Instance
To provision a new PostgreSQL database instance, navigate to the Create Database section in the UI.
Note
The provisioning process may take several minutes to complete.
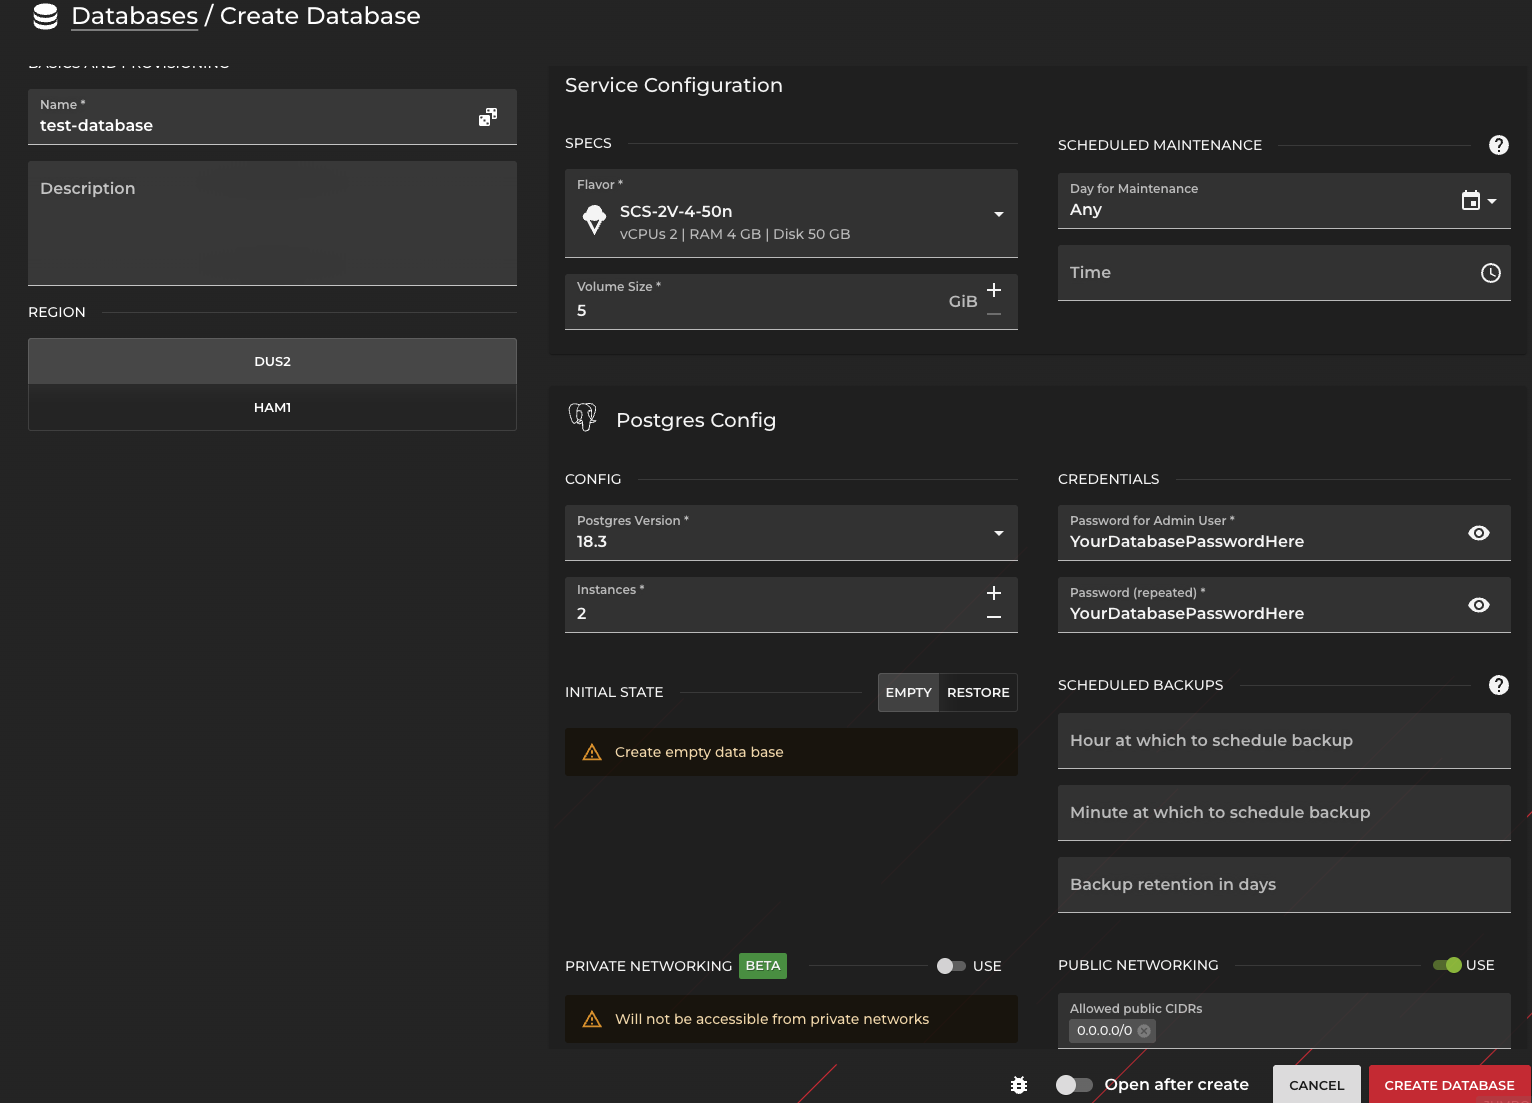
During creation, you can configure the following parameters:
- Name: The name of the instance
- Region: The region where the instance will be deployed
- Description: An optional description to help identify the instance
- Specifications: Defines the resources allocated to the instance (e.g., CPU, memory, storage)
- Configuration: Additional instance version and specific configuration options
- Credentials/Password: The credentials used to access the instance
- Maintenance: Maintenance settings such as update policies or maintenance windows
- Scheduled Backups: Configure automatic backups for the instance
- Private Networking: Allows the instance to communicate through a private network
- Public Networking: Enables public network access to the instance
Note
- Ensure that all configuration values align with your organizational policies and workload requirements.
- Private Networking and Public Networking are optional. You may enable either of them, both, or neither depending on your networking requirements.
Accessing the Database Instance
Once provisioning is complete:
Navigate to the Database Overview page.
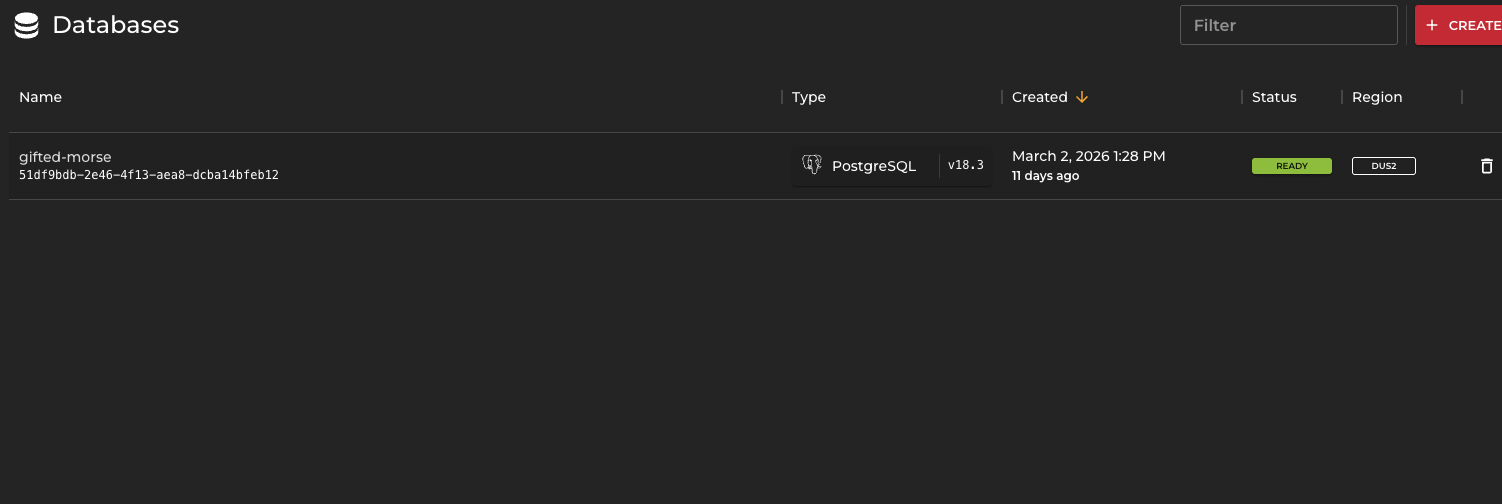
Locate the newly created database instance.
Select the instance to view its details and configuration parameters.
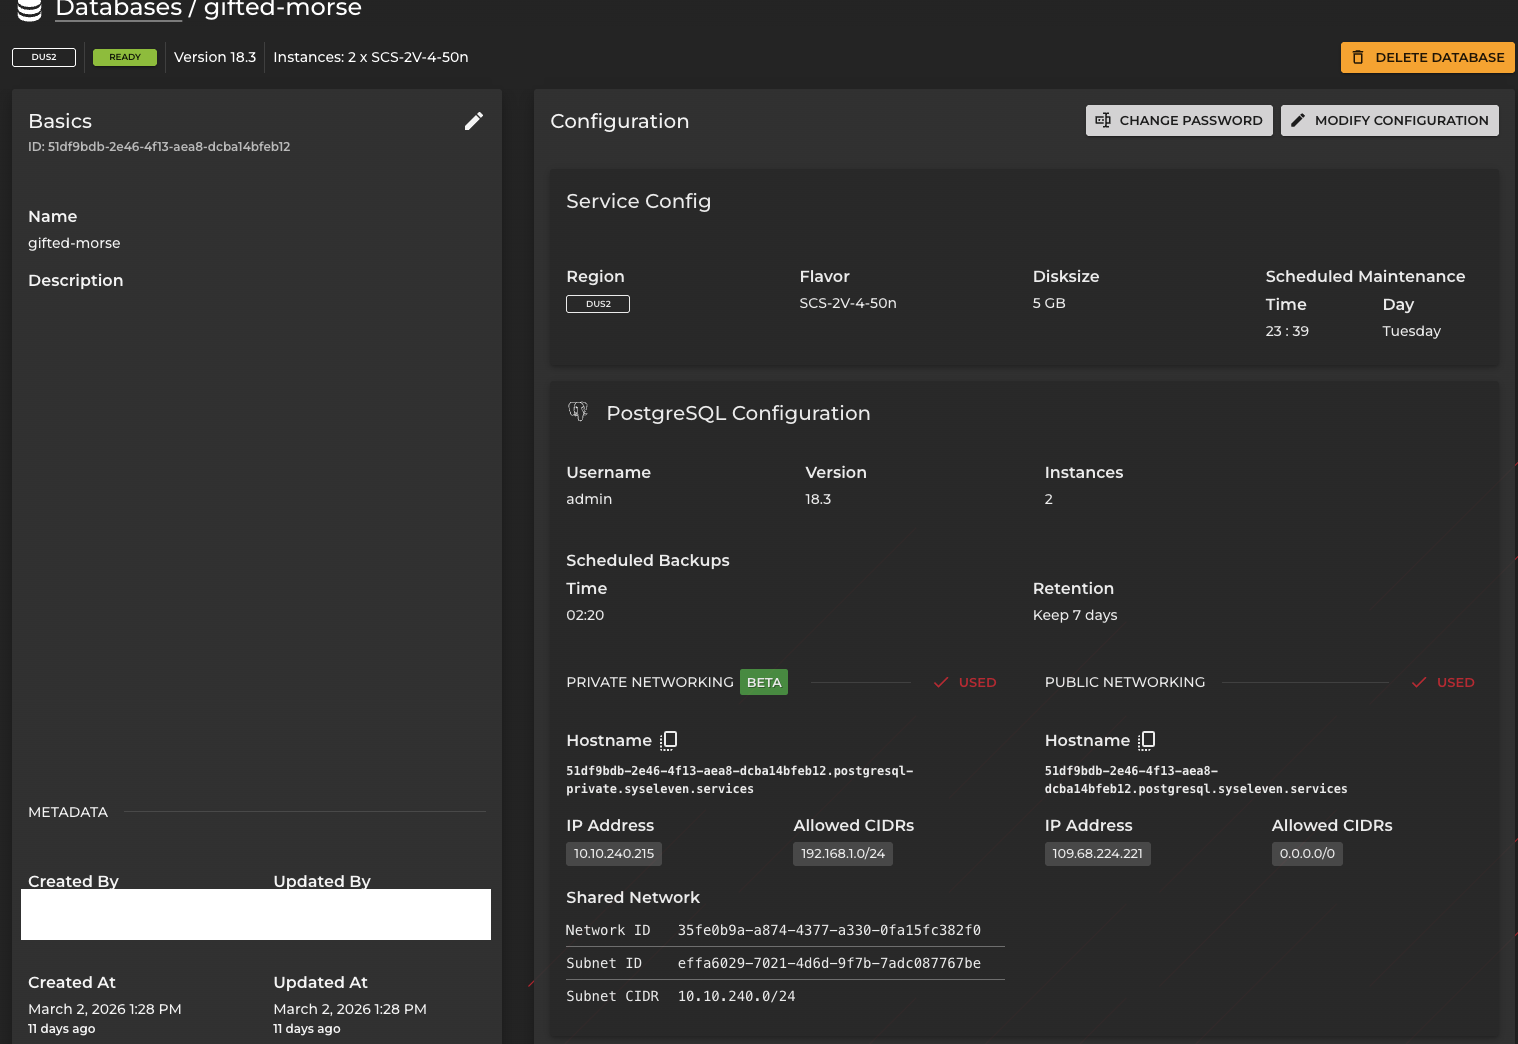
The database detail view provides visibility into networking configuration, credentials (where applicable), and operational status.
Public Network Connectivity
If Public Networking is enabled, the database instance can be accessed via its assigned public IP address.

In this example:
- A public IP address is enabled.
- The CIDR range is configured as 0.0.0.0/0.
Security Warning
Allowing 0.0.0.0/0 permits access from any IP address and poses a significant security risk. Restrict access to trusted IP ranges whenever possible and enable public access only when strictly required.
Connect via Public IP
Note
Ensure that the PostgreSQL client (psql) is installed on your local machine. Installation instructions are available in this Quickstart documentation
You will be prompted to enter the database password. Upon successful authentication, a remote session to the database instance will be established.
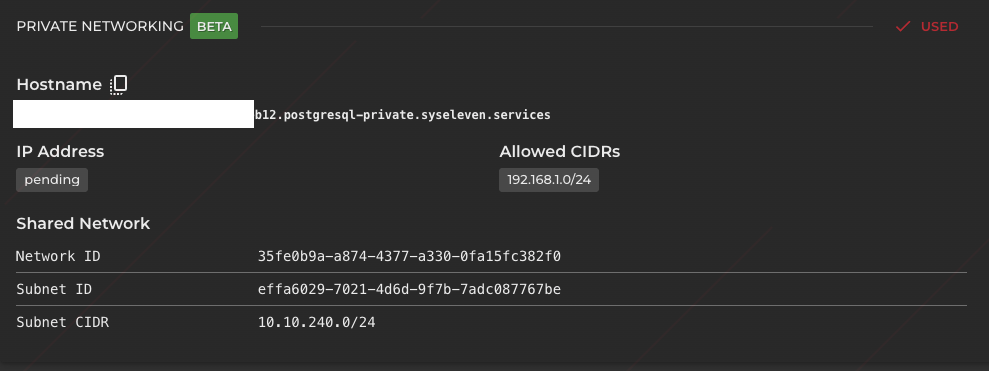
Private Network Connectivity
Private networking enables secure communication between the database instance and internal resources (e.g., virtual machines) within your infrastructure.
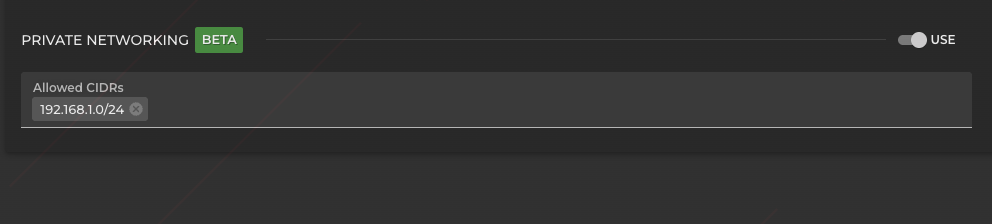
Enable Private Networking
Open the database instance detail view.
Select Modify Configuration.

Enable Private Networking and specify the CIDR range corresponding to the subnet of the machine(s) that require access.
Info
Activation may take several minutes, as a new subnet/network will be provisioned.
Attach Database Network to Router
To allow communication between the database and your virtual machine:
Navigate to Routers.
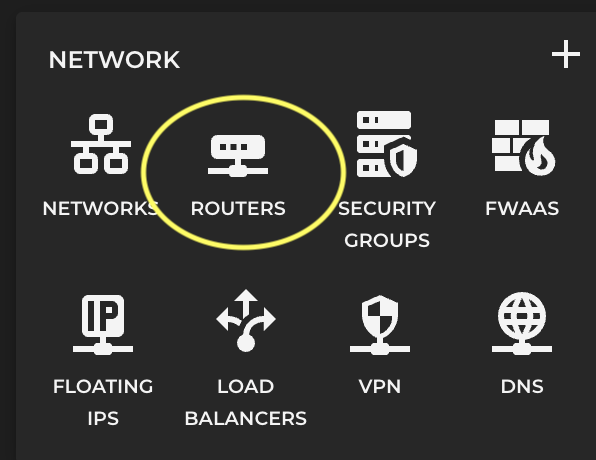
Select the router associated with your virtual machine.
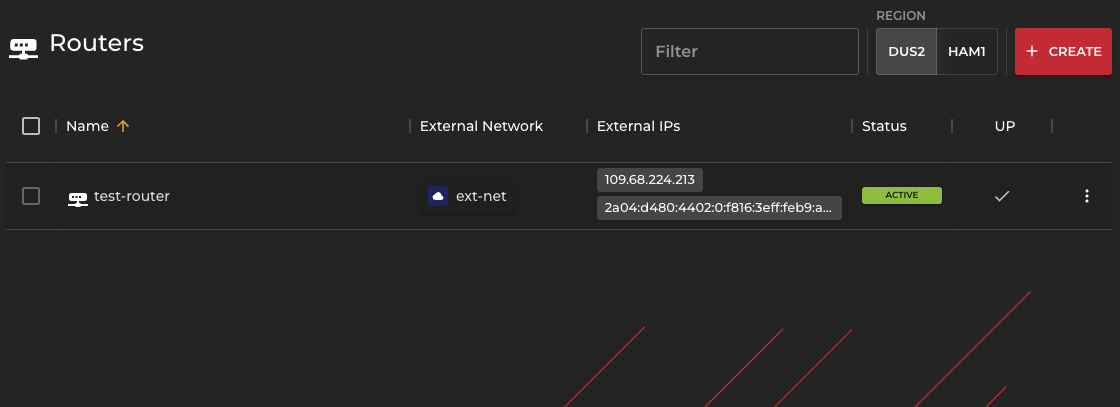
Open the router configuration.
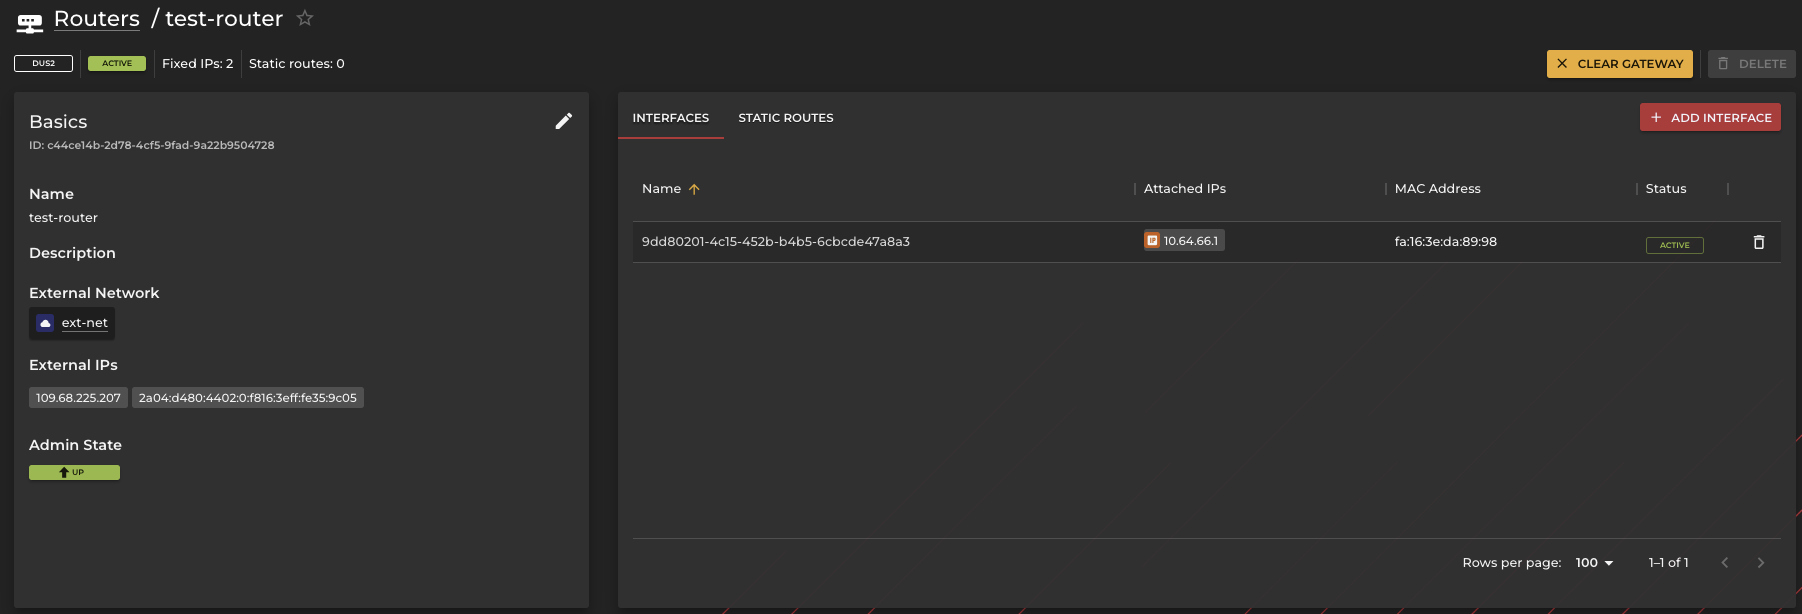
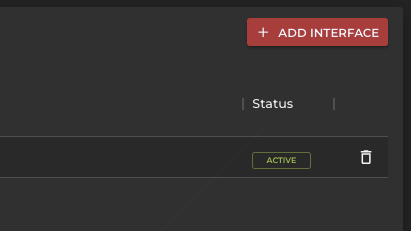
Click Add Interface.
Select the database subnet.
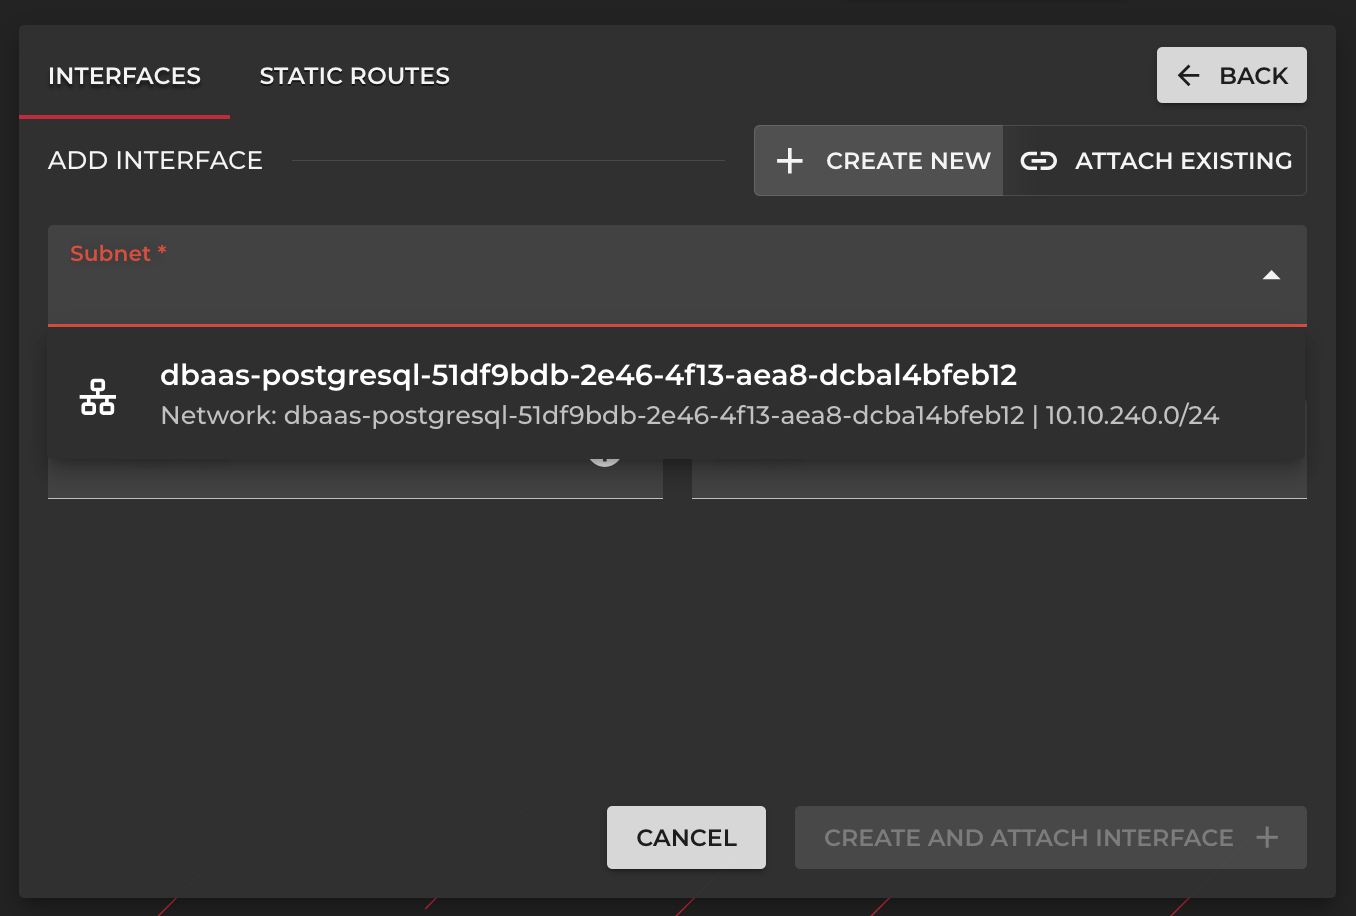
Confirm by clicking Create and Attach Interface.
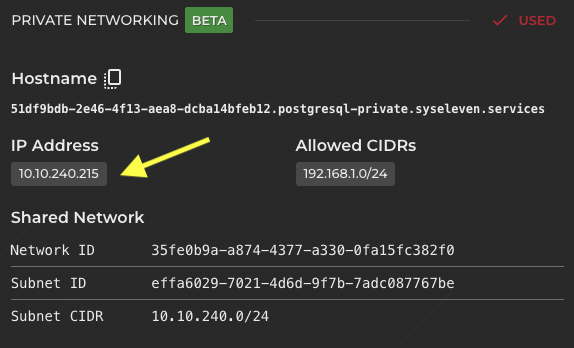
Once completed, the database instance will be assigned a private IP address accessible within your internal network.
Connect via Private IP
From a machine within the same network:
After entering valid credentials, a secure internal connection to the database instance will be established.
Conclusion
You have successfully:
- Provisioned a PostgreSQL database instance
- Configured public network access (if required)
- Enabled and configured private networking
- Established connectivity from both public and private environments
For additional configuration options, operational best practices, and advanced features, refer to the Quickstart documentation.